

2). Push Enter Key

3). Select your Language again

4). Select your country for time-Zone

5). Select the locale

6). Select "No" and set it manually on the next.
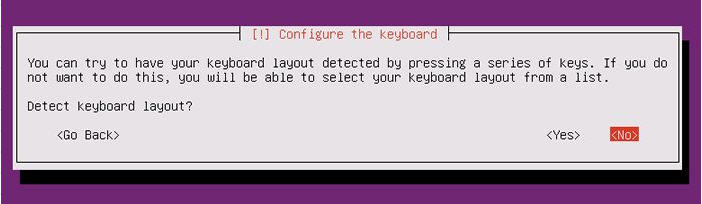
7). Select Your Keyboard layout

8). Se;ect your Keyboard Layout

9). Set your server's hostmane you'd like to set

10). Make sure the time-zone is correct and go next.

11). This is the section for configure partition. This Example select "Guided" like follows.

12). Select a disk to create partition

13). If it's Ok all answer " Yes "

14). Enter the amount of disks that you'd like to set for LVM volume group.

15). IT's completed toconfigure partition. If it's OK , answer " Yes"

16). Installation of base system proceeds.

17). Set user account. The user set on here is administration user by default.

18).Input a user name used on the system.

19). Set Password.

20). If you'd like to encrypt home directory, answer " Yes "

21). Set Proxy if you use it. If not, Continue with empty

22). Select if you set automatically update. Automatically update is convenience but sometimes it cause troubles, so if you use this server as a Missio Critical Server, Don't use automatically update, it's better to update by manually after verification.

23). Select software to install. Go next without checking boxes all, it's better to install something if needed.

24).Answer " Yes " if Grub is installed on MBR

25). Installation completed. Remove the disk and continues Then System will reboot.

26). The system boots and show login prompt like below. Login with a user set in installation.
No comments:
Post a Comment